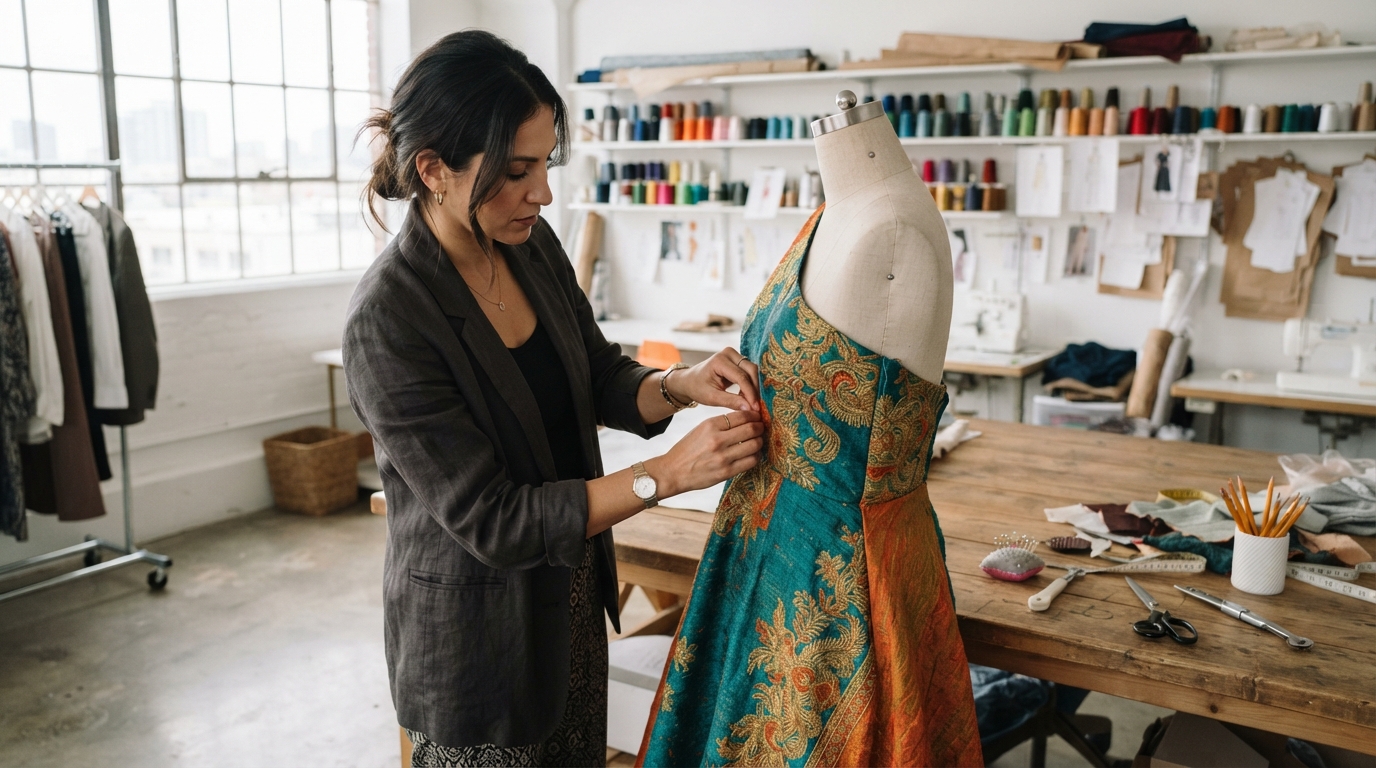
We can see a garment’s shape change as soon as we pin fabric onto a form. That quick shift makes hands-on work useful when a flat sketch leaves questions about volume, fit, or movement.
Fashion Draping Techniques help us explore a design in three dimensions before we settle on a pattern. Beginners can start with muslin and one simple garment piece. Experienced designers can use the same process to test less predictable shapes and discover fabric’s creative potential.
We will move from basic shaping to pattern development, with practical checks along the way. A first practice drape can turn an uncertain sketch into a shape we can assess and refine.
Key Takeaways
- Start with a pinnable form and woven practice cloth.
- Keep grainlines and body reference marks easy to see.
- Use folds to shape fabric without pulling it tight.
- Check the drape from the front, side, and back.
- Flatten and refine marked muslin before making a paper pattern.
- Record what each fabric and adjustment changes.
What Is Fashion Draping and When Does It Help?
Fashion draping develops a garment’s shape and fit by manipulating fabric directly on a three-dimensional form. It lets us judge real proportions and folds before we settle on a design.
A drape turns a flat idea into a form we can inspect from several angles. We can follow a reference image or sketch, or let the cloth’s weight and fall suggest a new shape.
Use draping early when a silhouette depends on how a fabric falls rather than on a flat outline.
The art of fashion draping gives designers a tactile way to explore ideas that may be hard to judge from a sketch alone. We can see where fabric pools, pulls, or makes a line that was not clear on paper.
Draping works alongside sketching and flat patternmaking; it does not replace either one. A sketch helps us frame an idea, while a flat pattern records shapes for cutting and sewing.
Fashion designers may use the process to test a sleeve, neckline, skirt volume, or whole silhouette. It can also show whether a chosen material supports the intended design.
For example, a soft cloth may form relaxed folds, while a firm cloth can hold a more defined outline. The same design line can look different in each material.
A quick sample can answer a visual question before we commit to a full garment. Use draping early when a silhouette depends on how a fabric falls rather than on a flat outline.
Which Dress Form and Tools Do We Need?
A stable, pinnable dress form is the first tool we need for reliable fabric shaping. Choose a firm, resilient form that accepts pins and holds its shape.
The form must hold pins securely without wobbling or distorting under pressure. US8, US10, and US12 dress forms are available sizes, but size alone does not ensure the intended fit.
- Dress form: choose a body shape and size suited to the design.
- Pins: use them to anchor fabric and hold folds in place.
- Fabric shears: keep a clean cutting edge for muslin.
- Measuring tape and ruler: check body measurements and straight lines.
- Marking tool and style or draping tape: show reference and design lines.
- One-inch-wide medium-weight adhesive paper: mark and support pattern areas.
US8, US10, and US12 identify form sizes, not a fit standard for every wearer. Compare the form’s measurements with the garment’s intended fit, then note any differences.
The right tools help us work with control, but a poor form can shift the result. A soft or unstable surface may let pins move when we adjust the cloth.
Before setup, check that the form holds a pin securely without wobbling or losing its shape. A firm surface should resist pressure while still allowing pins to enter.
Before setup, check that the form holds a pin securely without wobbling or losing its shape.
How Do We Choose Fabric and Muslin?
The best practice cloth is a woven fabric whose weight and drape resemble the material planned for the garment. Similar behavior makes fit and shape tests more useful.
Choose woven muslin with a fall close to the final cloth. Draping muslin often uses 100% cotton, though the name alone does not tell us how a particular piece will hang.
| Type | Fiber or construction named | Practical selection note |
|---|---|---|
| Standard muslin | Commonly cotton | Useful general practice cloth |
| Cotton twill | Twill weave | Choose when a twill-like surface suits the test |
| Cotton voile | Lightweight cotton | Useful for a light, soft fall |
| Silk/hemp muslin | Silk and hemp blend | Assess the actual cloth’s weight and movement |
These four muslin types offer different surfaces and weights. Standard muslin is a common practice option, while cotton voile is a lighter choice.
A twill construction may feel and hang differently from a plain weave. Silk/hemp muslin names a fiber blend, but its actual weight still matters.
Compare a sample with the intended garment fabric by holding both loosely and watching how they fold and fall. A close match makes the practice drape a better guide to the final design.
Choose the test cloth by comparing its weight and fall with the intended garment fabric, not by fiber name alone.
How Do We Prepare the Form and Muslin?
Straight grain and clear body reference lines give us a dependable starting point on both the form and the fabric. Good marks help us keep pieces aligned during shaping.
Keep center front and center back at least 3 inches from the selvage. Its close weave can distort the cloth near the edge.
- Press the muslin so creases do not affect the shape.
- Identify lengthwise and crosswise grain before cutting.
- Block the cloth by pulling its edges diagonally until the yarns meet at right angles.
- Use tape to mark center front, center back, waist, and other body reference lines.
- Place center front and center back at least 3 inches from the selvage.
Blocking brings the lengthwise and crosswise yarns back to square. Pull the fabric gently across the diagonal, then check that its edges sit evenly.
Body marks on the form help us relate fabric lines to the waist, shoulder, and center. Keep those references visible as the drape takes shape.
A beginner half-front bodice example from Mood’s tutorial adds 4 inches to width and 3 inches to length. Its half-back block adds 4 inches to width and 2 inches to length.
Those dimensions belong to that tutorial’s example, not to every bodice or wearer. The required ease changes with the style and fit we want.
Mark each piece’s grainline before pinning so the reference survives trimming.
What Are Basic Fashion Draping Techniques?
For a simple drape, we anchor the fabric at key reference points and shape it with controlled folds. Small adjustments can change fit without hiding the cloth’s natural fall.
Pinning holds the cloth in place, while folds control extra fabric. A few clean marks help us understand why a shape works.
Pinning, Tucks, and Darts for Shape
Careful pinning anchors fabric at points such as the shoulder, waist, or center line. Place pins so they hold the cloth without drawing it into sharp, unwanted creases.
Darts take in excess fabric to shape areas such as the bust or waist. Tucks fold and secure cloth for a planned line, while gathers condense fabric into soft fullness.
These moves help us control both shape and fit. We can shift a dart or widen a tuck, then judge how that change affects the whole piece.
A fold should support the design, not just hide extra cloth. A small pin shift can reveal whether the fabric needs a deeper dart or a softer tuck.
Draping Garment Sections in Order
We can drape garment sections separately, including the front bodice, back bodice, front skirt, and back skirt. Designers usually drape only the right side unless the design is asymmetrical.
That approach can save time on a balanced design because its other side can be checked against the first. An intentionally uneven neckline or hem needs its own shaping on both sides.
The FIT fashion-design course catalog describes study in draping, patternmaking, garment construction, and materials. These skills let designers test and develop garments through hands-on work.
Simple fashion draping techniques do not require one fixed order for every garment. We can choose the section that best reveals the design’s main shape.
Keep a little ease in the cloth instead of pulling it tightly against the form.
How Do We Drape a Basic Garment Step by Step?
Begin with a stable anchor at the garment’s center line and a structural point such as the shoulder. Light tension keeps the cloth steady without forcing its fall.
Anchor, shape, assess, and mark the fabric in that order. Check the drape from more than one angle before accepting its lines.
Anchor the Fabric and Establish Grain
Place the first pins at clear reference points, then smooth the cloth toward the next anchor. Keep the grainline aligned with the intended garment direction.
Use only enough tension to hold the fabric. If it stretches or pulls hard against the form, loosen the pins and let it settle.
Shape the Silhouette and Check Fit
Sculpt volume with folds, darts, tucks, or gathers that support the planned outline. Adjust each move while watching how it changes nearby areas.
Assess fit and balance from the front, side, and back. Look for pulls, unwanted bubbles, uneven hems, and lines that fail to match the design.
Reposition pins when a fold sits poorly, or trim excess cloth when it blocks the intended shape. Leave enough fabric to make later adjustments.
For a balanced design, compare its left and right sides. Symmetry is a check, not a rule, when the design calls for an uneven shape.
Mark the Drape and Record Design Decisions
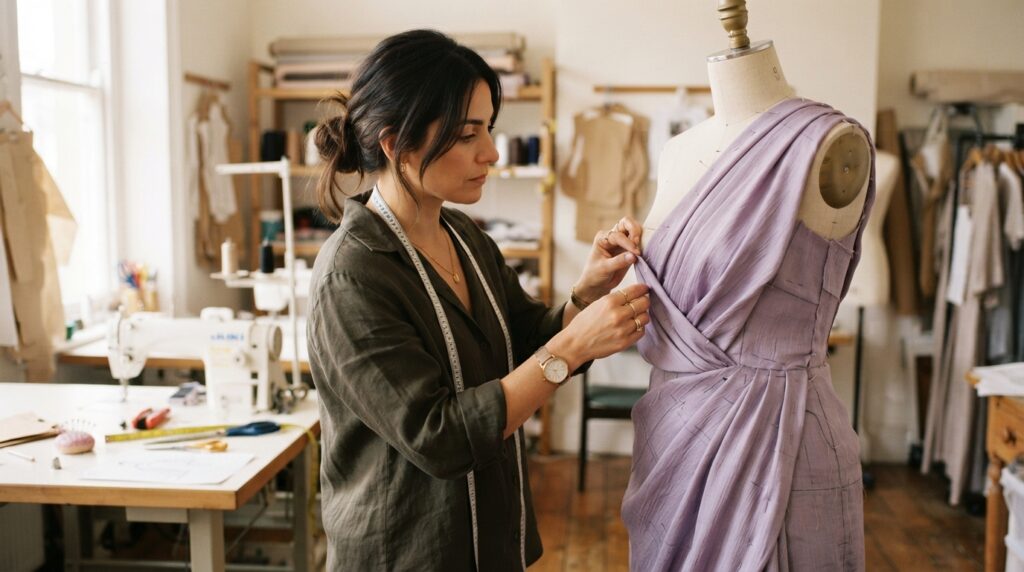
With the fabric still on the form, mark seam lines, grainlines, and design lines. Use distinct marks so construction lines do not blur together.
Record the cloth used and any choices that affect construction. Note which folds, seams, or volume changes produced the intended result.
A short note can explain why a line sits off-center or why one side carries more volume. That record helps us reproduce the design after removing the drape.
If the planned silhouette is deliberately uneven, assess it against the design intent rather than forcing symmetry.
How Do We Turn a Muslin Drape Into a Pattern?
We convert a drape into a pattern by preserving its marked lines, smoothing them flat, and transferring them to paper. Careful marks keep the shape connected to the original design.
Truing means smoothing and connecting the marked lines on a removed, flattened drape so they form accurate pattern shapes.
| Stage | Muslin or form state | Result |
|---|---|---|
| Mark on form | Muslin remains pinned | Seams, grainlines, and design lines are recorded |
| Remove and flatten | Muslin lies flat | Marked pieces can be shaped for pattern work |
| True the lines | Muslin is flat | Rulers and curves smooth the pattern edges |
| Add seam allowances and notches | Lines are refined | Pieces gain sewing guides and match points |
| Transfer to pattern paper and check fit | Paper pattern is ready | Muslin pieces can be pinned and tested again |
Remove the muslin without losing its marks, then flatten each piece on a work surface. Use rulers for straight edges and design curves for shaped seams.
Add seam allowances and notches after the main lines look smooth. Transfer seam, grain, and notch markings to paper so the pieces retain their construction details.
Before using final fabric, pin the muslin pieces together and return them to the form. This check can reveal fit problems that were not clear on separate flat pieces.
Do not transfer a seam curve to paper until it lies smoothly on the flattened muslin.
How Do Design Principles Guide a Strong Drape?
A successful drape makes its shape, lines, and fabric surface work together rather than compete. Clear choices help the design communicate its intended look.
Shape, line, color, and texture are the four basic elements of fashion design. Each can change how a garment reads from across a room.
Shape, Line, Color, and Texture
Shape and form describe the garment’s outline and volume. A broad shoulder, narrow waist, or loose skirt can change the body’s visual proportions.
Lines guide the eye along seams, hems, folds, and edges. Color and texture also affect how we notice those details and read the fabric’s surface.
A smooth cloth may make a fold look clear and spare. A textured surface can soften the same line or draw attention to the area.
Proportion, Balance, Rhythm, Unity, and Emphasis
The five basic principles are proportion and scale, balance, unity or harmony, rhythm, and emphasis. Together, they help us judge volume and visual order.
Proportion compares parts of a garment, while balance considers how visual weight sits across it. A large sleeve may need a quiet skirt to keep the whole design steady.
Unity connects the parts through repeated lines, colors, or shapes. Rhythm comes from a repeated detail, such as pleats that lead the eye down a skirt.
We can emphasize one neckline or fold while keeping the rest of the garment visually coherent. The remaining lines should support that focal point rather than compete with it.
For a closer look at how these ideas affect clothing, see this silhouette and proportion analysis. It connects balance and visual emphasis with garment shape.
Use emphasis at the feature we want viewers to notice first.
Which Advanced Draping Techniques Change the Silhouette?
Advanced techniques change the silhouette by changing where fabric falls, folds, or gathers around the form. Placement matters as much as the fabric itself.
Bias placement, asymmetry, pleats, and cowls each change the cloth’s movement or outline. A small sample can show how strongly a method shifts the shape.
Bias, Asymmetry, and Cowl Shapes
| Technique | Fabric placement or line | Silhouette effect |
|---|---|---|
| Bias | Cloth follows a diagonal grain direction | Allows a softer, more fluid fall |
| Asymmetry | Design lines differ across the body | Creates an uneven outline or focal point |
| Pleats | Fabric folds into planned sections | Adds repeated volume and direction |
| Cowl | Extra cloth falls into soft folds | Creates a draped neckline or skirt area |
A one-shoulder dress can use asymmetrical draping to build an uneven neckline. The design may balance that feature with a quieter line elsewhere.
A side-seam cowl skirt can place its side seam on the bias to encourage a soft fall. Pleats need truing on the muslin drape to make an accurate pattern.
Seven Practical Draping Methods
These seven methods offer useful ways to practice, not a fixed or official list of every draping approach.
- Pinning: anchor fabric at selected points.
- Tucking: secure a fold to control fullness.
- Gathering: draw fabric together for soft volume.
- Folding and layering: build depth with overlapping cloth.
- Bias draping: shape fabric along a diagonal grain.
- Asymmetrical draping: create different lines on each side.
- Pleating: arrange repeated folds for structure or movement.
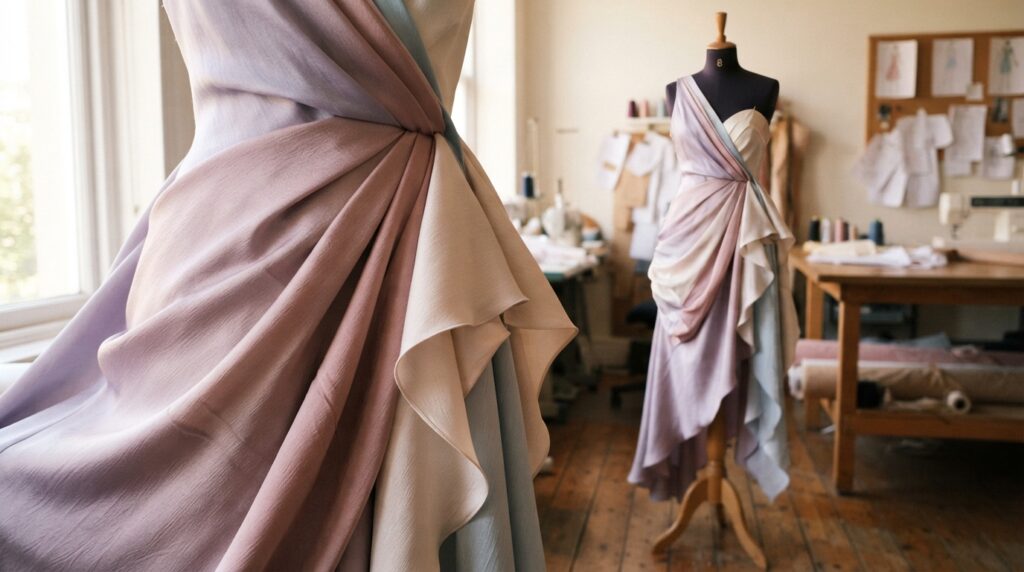
Recent examples show how varied fabric treatments can look. Calvin Klein FW25 featured fluid forms, Issey Miyake FW25 used fabric strips, and Rick Owens FW25 used layered sheets.
Test a chosen treatment on a sample before committing the full garment length.
What Common Draping Mistakes Should We Check For?
A drape that looks wrong often needs a correction to the setup or handling before it needs a new design. Check the basics before changing the style.
Grain, fabric choice, pinning, and careful refinement all affect the result. Excess tension can also make fabric hang unnaturally.
- Grainline distortion: a shifted grain can twist seams or pull the hem off balance.
- Fabric mismatch: cloth with a different weight or fall may change the planned shape.
- Pin slippage or poor placement: loose pins can let folds shift during fitting.
- Rushed refinement: quick cuts or marks may hide a problem instead of solving it.
- Form-bound thinking: the form’s outline does not limit every possible design.
Let the cloth fall as intended rather than stretching it tightly over the form. Too much pull can flatten folds or create tension lines that the finished garment will not have.
Give each change time to settle before judging it. A pin moved by a small amount can alter a neckline, waist seam, or skirt fold.
We can also test an unexpected shape instead of assuming the form’s outline sets the design’s limits. The fabric may support volume beyond the body beneath it.
Take a final look from the side and back before accepting a result judged mostly from the front.
That second view can reveal a hem that rises at the back or fabric that gathers near a side seam.
How Can We Build Draping Skills Through Practice?
We build reliable draping skills by repeating small experiments and recording what each fabric teaches us. Short projects let us focus on one design question at a time.
Draping connects sketching, patternmaking, and fabric selection. Hands-on work helps designers see how materials behave and move.
Try a single bodice, sleeve, or skirt section before shaping a whole garment. Change one feature at a time, such as fullness or neckline depth, so the result stays easy to judge.
Keep notes on the cloth and grain direction, then compare the finished muslin with the original idea. Small differences can show where the design changed during shaping.
Draping and flat patternmaking work well together. We can explore a three-dimensional idea on the form, then use a pattern to communicate and reproduce it.
Repeated practice also teaches us which materials hold a line and which ones fall into soft folds. Those lessons can inform future fashion design choices.
Record the fabric, grain orientation, and pattern changes after every practice drape.
Conclusion
We can begin with a simple garment piece and learn from each adjustment. The dress form, cloth, and grain setup all affect the shape we see.
A muslin drape gives us room to revise a design before it becomes a paper pattern. Each change can make the garment’s fit and outline easier to assess.
Choose a woven muslin close to the intended garment fabric, prepare one bodice or skirt section, and make a first practice drape.