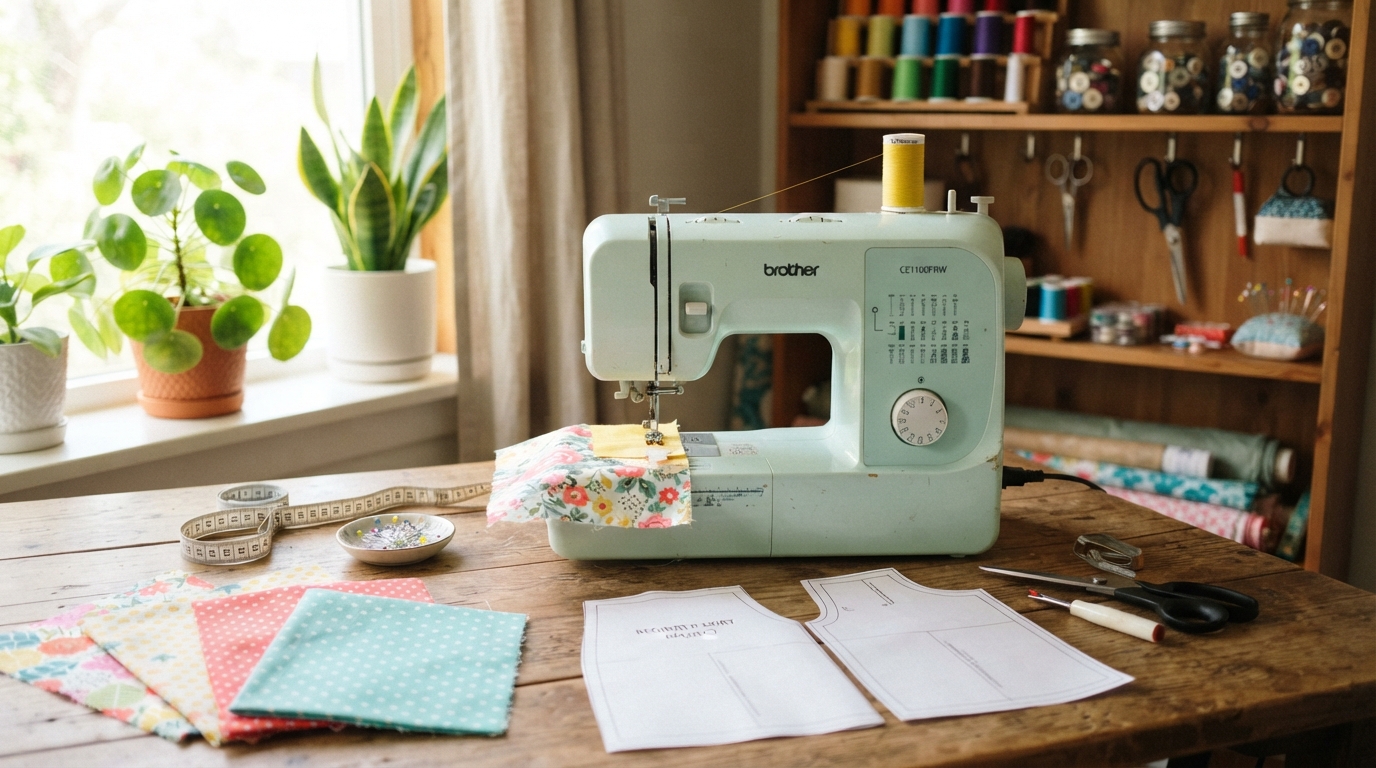
A first handmade garment can feel like a big leap, but a few repeatable skills make the process manageable. Careful choices at each stage affect fit, comfort, and appearance. We can learn those skills through practice, starting with a simple project instead of expecting a perfect first result.
This guide explains how fabric, patterns, stitches, shaping, and finishing work together to turn cloth into clothing. We will also look at ways to check fit and fix common problems. A little planning helps us spend less time unpicking mistakes and more time learning what works.
Sewing is both a practical skill and part of fashion design. It lets us make clothes that suit our needs, then adjust details as our skills grow. Practice matters more than fancy tools, and scraps give us a low-pressure place to test stitches.
Begin with a simple pattern and scraps of fabric, then build confidence one technique at a time.
Key Takeaways
- Use the pattern’s measurements and markings before cutting.
- Test unfamiliar stitches on scraps first.
- Choose a fabric that suits the pattern and your skill level.
- Check fit while the garment is still easy to adjust.
- Press seams as you sew for a neater shape.
- Inspect the inside and outside before wearing the garment.
What Happens During the Garment Construction Process?
A beginner garment usually moves through six stages, from taking measurements to the final finishing check. Careful order helps us catch problems before they spread. The garment construction process has two broad phases: pre-production and production.
Pre-production includes planning, taking measurements, preparing the pattern, and preparing the fabric. Production covers cutting, sewing, fitting, and finishing. A sample garment can reveal fit or construction issues before we cut the final fabric. The same idea supports apparel development, where teams test samples before approving production.
A sample garment can reveal fit or construction issues before we cut the final fabric.
Understanding garment construction means following each step and checking the marks before moving on. This six-step route takes us from an idea to a wearable item:
- Measurements: Record the body measurements the pattern needs, and compare them with its size chart.
- Pattern preparation: Select a size, trace or prepare the pattern pieces, and mark notches and grainlines.
- Preparing and cutting fabric: Prewash if needed, lay out the pieces, and cut accurately along their outlines.
- Assembling pieces: Join the cut pieces in the order the pattern gives, keeping marks aligned.
- Fitting: Try on the garment at useful stages, then make needed changes before final finishing.
- Finishing: Secure openings and edges, remove loose threads, and check the garment inside and out.
Pattern making turns a design into shapes we can cut from cloth. A pattern also sets the stitch line and the seam allowance, the strip of fabric between the stitch line and the raw edge.
When cutting fabric, we need to include the pattern’s intended seam allowance. Some patterns include it; others show the stitch line but ask us to add the allowance. Check the pattern notes rather than guessing.
Before cutting, confirm that every pattern piece includes its intended seam allowance.
How Do Fabric and Pattern Choices Shape a Garment?
Fabric weight is a useful starting point because it gives us a clue about how a material may drape, feel and perform. Weight is only one clue, not a measure of fiber quality. The pattern, fabric behavior, and garment design also shape the result.
GSM means grams per square meter, a measure of fabric mass over an area. Ounces per square yard offer another weight measure. Higher GSM generally means heavier fabric, but it does not tell us how soft or durable the fabric is.
Compare Fabric Weight and Common GSM Ranges
These ranges help us compare common materials, but they are guides rather than strict rules. A fabric’s structure and fiber content also affect how it feels and hangs.
| Fabric weight category | GSM range | oz/yd² range | Examples |
|---|---|---|---|
| Ultra-light | Under 100 | Under 3 | Chiffon, georgette, voile, lace, tulle |
| Lightweight | 100-170 | 3-5 | Light linen, shirting cotton, chambray, rayon challis, Tencel jersey |
| Midweight | 170-340 | 5-10 | Twill, midweight linen, cotton jersey |
| Heavyweight bottomweight | 340-400 | 10-11.8 | Heavy canvas, denim, fleece, ponte |
| Ultra-heavy | Over 400 | Over 11.8 | Heavy-duty denim, canvas, upholstery fabric |
Examples show how weight changes with use. Lightweight cotton jersey T-shirts often range from 120-160 g/m², while winter T-shirts may range from 200-300 g/m². Cotton twill chinos can weigh 250-300 g/m² for year-round wear, or 350-450 g/m² for winter.
High-quality cotton French terry sweatshirts often weigh 300-400 g/m². Those figures are examples, not universal rules for every shirt, pair of chinos, or sweatshirt.
Match Fabric Behavior to the Project
Beginners often find stable woven cotton or linen easier to sew than slippery or stretchy fabric. Ponte is a stable knit that can be sewn much like a woven fabric.
Fabric names can describe fibers, structure, or both. Cotton is a soft, sturdy, breathable fiber that absorbs moisture, but it creases easily. Linen feels airy and dries quickly, though it also creases.
Lyocell comes from wood cellulose and has a soft, silk-like feel with good drape and ventilation. Elastane is a highly elastic synthetic fiber, often blended with other fabrics to add stretch.
Voile is a sheer, light fabric with a crisp yet soft feel. It works well for blouses and scarves. Canvas is a woven fabric often made from cotton, linen, or polyester.
Canvas suits sturdy items such as bags, tents, and shoes. Mesh is a light textile made from polyester, nylon, or spandex, and appears in sportswear, dancewear, shoes, and lingerie.
Prepare Fabric and Pattern Pieces Before Cutting
Grainline marks show how pattern pieces should sit in relation to the fabric’s lengthwise threads. Correct placement helps the garment hang as intended. Notches mark points where pieces should meet.
Transfer notches and other pattern marks before moving the pieces. Keep the seam allowance in mind, then cut steadily along each pattern edge. Accurate cutting helps seams line up later.
Prewashing can reduce later shrinkage, especially when the fabric care label allows it. Use the same care method you plan for the finished garment, then let the material dry before cutting.
Consider Fabric Finishes and Skin Sensitivity
Some concerns involve chemical treatments or exposure, not a fiber that is always unsafe. A 2022 study detected PFAS in children’s school uniforms sold in U.S. and Canadian stores. About 70% of tested products labeled waterproof contained PFAS, as reported in the uniform chemical findings.
Researchers also detected BPA levels 40 times California’s legal limit in polyester-spandex clothing. The items included sports bras, leggings, and shorts from eight activewear brands. California Proposition 65 sets a maximum allowable BPA dose of 3 μg/day for skin exposure.
Outside California, the U.S. has no BPA restrictions in textiles. In 2011, about 800 of 3,000 Alaska Airlines attendants reported symptoms such as rashes, itchy eyes, and coughing after new uniforms arrived.
The uniforms linked to those reports were recalled in February 2014. Tests found lead, chromium, cobalt, toluene, tributyl phosphate, and dimethyl fumarate in the cloth. Skin exposure to chromium and copper can be linked to eczema, itchy skin, and dermatitis.
Frequent skin contact with permethrin can cause a rash, itching, redness, or a burning or prickling feeling. EU REACH rules set limits for chemicals that can cause cancer, damage DNA, or harm human reproduction.
These findings do not prove that one fiber is universally unsafe. Sensitivity can vary, and a finish or treatment may matter as much as the fiber. Check the fiber content and care instructions, and test an unfamiliar fabric before cutting the full garment.
Which Garment Construction Techniques Should Beginners Learn First?
A plain seam is the reliable starting point for many garments, while delicate, durable or stretchy fabrics may call for another finish. Choose by use, then practice on scraps. The seam should suit the fabric and the stress the garment will face.
Seam types differ in how they protect raw edges and how they look from the outside. A French seam is sewn twice to enclose raw edges, and it is generally 5 mm or less wide.
Choose a Seam for the Fabric and Its Use
| Seam type | How it handles raw edges | Suitable fabric or use | Visible result |
|---|---|---|---|
| Plain | Edges remain open unless finished separately | Many woven garments | One stitch line |
| French | Encloses edges inside the seam | Delicate or sheer fabric | Narrow, neat seam |
| Flat-felled | Encloses edges and secures them | Hard-wearing garments | Two parallel stitch lines |
| Overlock | Trims and wraps edges in one pass | Knit edges and quick edge finishing | Wrapped edge stitches |
A flat-felled seam encloses raw edges and holds them with two parallel rows of stitching. It suits hard-wearing garments such as work shirts. An overlock seam trims and wraps raw edges in one pass on a serger.
Match the Stitch to the Material
A straight stitch joins many woven pieces. A zigzag stitch can finish an edge or stretch with some fabrics. Overlock stitching joins and finishes an edge, while topstitching adds a visible line that can also hold layers flat.
Knits need stitches that can stretch with the fabric. A narrow zigzag or a suitable stretch stitch can help seams move without snapping. Check the machine guide for the stitch options it supports.
Practice the same stitch on two scraps cut from your garment fabric. Join them, stretch the seam gently, then check whether the thread breaks or the fabric puckers.
Keep Stitching Even and Controlled
Guide the fabric without pulling it. Let the machine feed the layers, and keep the seam line aligned with the guide mark on the needle plate.
Puckering can point to excess tension or fabric being pulled as it feeds. Check thread placement, presser-foot pressure, and needle choice, then test again on scraps.
Skipped stitches may come from poor machine setup or a worn needle. Replace the needle and rethread the machine. Uneven tension can leave loops above or below the fabric, so check threading before changing settings.
Test the stitch and tension on a fabric scrap before sewing the garment pieces.
How Do Darts, Pleats, and Gathers Shape a Garment?
A dart, pleat or gather changes how flat fabric sits on the body without changing the fabric itself. Each method controls fullness differently. Darts shape a garment, while folds and gathers add room or detail.
A dart is a stitched fold that shapes flat fabric to the body. A bust dart takes fabric from a wider area to create space over the bust. A waist dart can shape a garment closer to the waist.
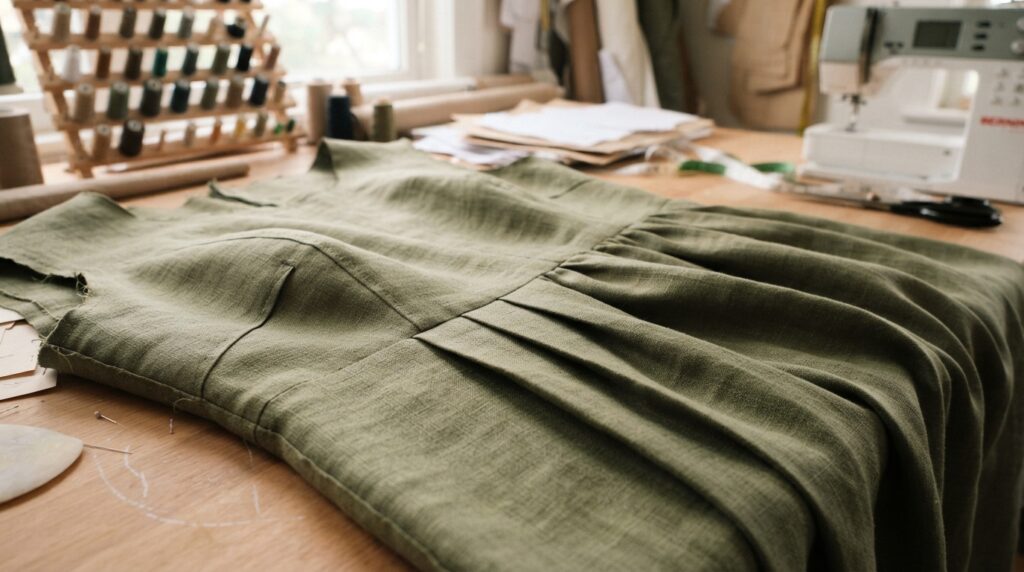
Pleats create controlled fullness through folds. A pleat in a skirt can give the wearer room to move while keeping the fabric arranged. A tuck is a stitched fold, often used as decoration.
A pintuck is a narrow, stitched tuck that adds a small raised line. Unlike a pleat made to open for movement, a decorative tuck usually stays closed. Pattern instructions show where to place each fold.
Gathering reduces a wider section of fabric to fit a narrower one. We might gather a skirt before joining it to a bodice, or ease a sleeve into an armhole.
To make gathers, sew three rows of long stitches, then gently pull the threads. Two rows can work, but three give us more control over the fullness.
Spread the gathers along the section until the fabric fits the marked length. Keep the gathers small and even rather than pulling them into one tight cluster.
When a sleeve needs a little fullness, an ease line can be sewn 6 mm inside the seam line between the notches. That line helps control the extra fabric without forming visible gathers.
Distribute gathers evenly before stitching them permanently so the fullness does not bunch at one point.
How Do You Finish Hems, Closures, and Garment Details?
The right hem depends on both the fabric and how visible or flexible the finished edge needs to be. Pick the edge finish for its job. A good finish protects the fabric while supporting the garment’s look and movement.
A hem can be turned, rolled, blind stitched, or sewn with a coverstitch. The choice depends on the fabric, the garment, and how much stitching we want to see.
Finish Hems and Openings
A double-fold or turned hem folds the raw edge inward, often twice, for a neat finish on many woven garments. A rolled hem makes a narrow edge, useful on light fabric.
A blind hem keeps most stitches hidden from the right side. A coverstitch hem is common on knits because its stitching can stretch with the fabric. Each finish needs a test on a scrap first.
Overlocking can protect raw edges, while binding covers an edge with a strip of fabric. An enclosed seam can hide the raw edge inside the seam itself. A facing can finish a neckline or opening without a full lining.
Buttonholes are openings made to fit buttons and hold them securely. We can sew them by machine or hand. Mark each opening with the button size in mind, then test it before cutting the fabric.
Attach Sleeves, Collars, Cuffs, and Linings
Match sleeve and armhole notches before stitching. The marks help us line up the shoulder and underarm points, so the sleeve sits in the right direction.
Collars and cuffs add shape and structure at necklines and wrists. Follow the pattern order, and check that the finished edges face the right way before sewing them in place.
A full lining covers most of the garment’s inside, while a partial lining covers selected areas. Interlining adds a layer between the outer fabric and the lining.
In a tailored jacket, canvas can serve as an interlining between the outer cloth and inner lining. A guide to jacket canvas and suit construction explains fused, half-canvas, and full-canvas methods.
Check that a button passes through its buttonhole easily without stretching or tearing the fabric.
How Do You Check Fit and Press a Garment During Sewing?
A garment can be sewn accurately and still need a fitting adjustment before its shape feels right on the body. Try it on before the final finish. A brief fitting can show where the garment pulls, hangs loose, or limits movement.
Record measurements clearly and compare them with the pattern’s size chart. Each pattern calls for different measurements, so use the ones listed in its instructions. Common measurements include bust, waist, hip, shoulder width, armhole, sleeve length, and garment length.
Check that the shoulder seam sits near the shoulder, and look for enough ease at the bust and waist. Ease is room to move, not a loose fit that hides the garment’s shape.
Move your arms to check sleeve comfort, then sit and stand to test the body. Check garment length while standing naturally, since posture can change how a hem appears.
A sample fit can expose problems with the pattern or material before production. The apparel design development process also uses samples to check fit, material, and construction.
Pressing is controlled shaping, not sliding an iron back and forth. Lift and set the iron to shape seams and folds, using heat that suits the material.
Prewashing and ironing fabric before cutting helps reduce the chance that shrinkage will change the garment’s size. Sew a dart from its widest part toward its tip to help avoid puckering, as described in this dart sewing direction.
Press each seam as you sew it, using a suitable temperature and a pressing cloth for delicate fabric.
How Can You Finish Raw Edges and Inspect Your Work?
A finished garment is not ready to wear until its seams, edges, hems and fastenings have been checked. Look inside as well as outside. Loose threads or unfinished edges can weaken with wear.
Five checks catch many common construction problems:
Check even stitching, flat seams, protected raw edges, level hems, and secure fastenings before wearing the garment.
Check Seams, Hems, and Stitching
Use this short inspection list on the whole garment, not just the front:
- Even stitching with no loose or skipped sections.
- Flat seams that do not twist or bunch.
- Protected raw edges with no fraying threads.
- Level hems that hang evenly around the garment.
- Secure buttons or zippers that open and close as intended.
The inside and outside should both look neat. Check that seam allowances stay consistent, especially where joined pieces meet. Decorative stitching should look intentional rather than uneven or accidental.
Inspect hems while the garment hangs naturally. A garment can look level on a table yet shift when worn, so check the edge on the body when possible.
Fix Common Construction Problems
Puckering often points to tension trouble or fabric that was pulled while sewing. Test a scrap, rethread the machine, and guide the layers without stretching them.
Skipped stitches can result from machine setup or a worn needle. Replace the needle, check that it sits correctly, and confirm that the thread follows the machine’s path.
Crooked stitching often starts when we rush or lose alignment. Slow down near corners and curves, and watch the fabric edge against the guide.
A loose fastening may come free during wear, while an exposed raw edge may fray. Repair a loose fastening or exposed raw edge before regular wear can worsen the problem.
How Can Beginners Learn Garment Construction?
The easiest first project is one that lets us practise a few new skills without making every step unfamiliar. Keep the challenge small. A simple garment helps us learn the process without fighting difficult fabric or complex closures.
Look for these four qualities when choosing a first pattern:
- Stable fabric that stays in place while we sew.
- An easy fit that does not need many adjustments.
- Few complicated closures, such as difficult zippers or buttons.
- No more than one or two unfamiliar techniques.
A cotton jersey with about 25% stretch can suit a beginner who wants to learn knit sewing. For a first woven project, stable cotton or linen can be easier to control.
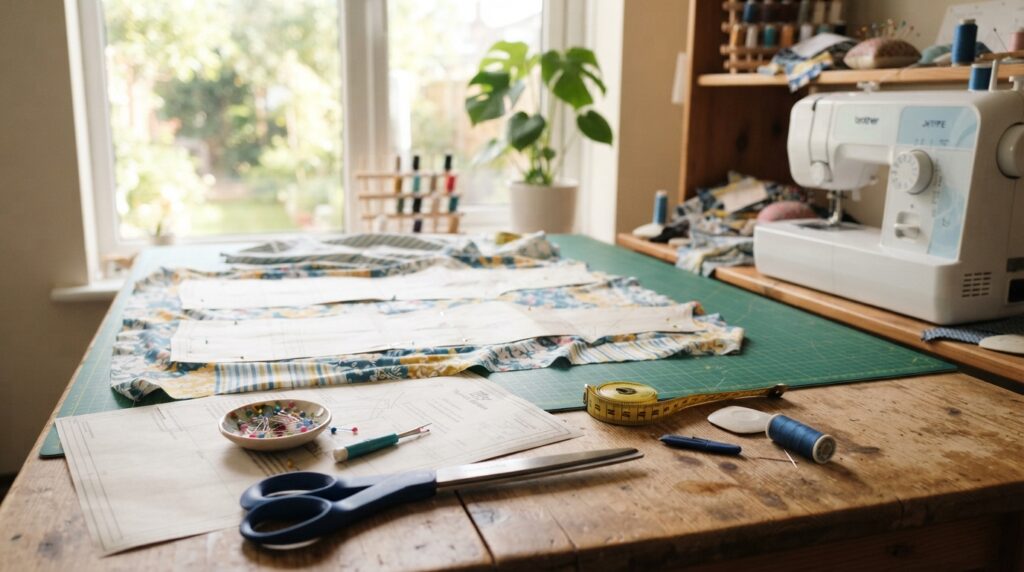
Practice can begin with scraps. Sew straight and curved lines, make a simple garment, repeat one detail such as a pocket, and use a sample garment to test fit.
Patterns and classes offer different kinds of support. The free Hansie top pattern includes a free sewalong class, and it teaches a facing, darts, and a patch pocket.
The Samson top can be sewn in knits or wovens. The Benning dress teaches gathering and a V-neck, and it has no closures. Those designs offer different lessons, so neither is the right choice for every beginner.
The Quince jacket is used in a course for absolute beginners. Garment construction courses can give us structured practice, while a pattern sewalong offers step-by-step support.
The Fashion Institute of Technology course catalog describes training in sewing construction, fabric cutting and layout, finishing techniques, and garment prototypes in Materials and Construction I. Its fashion design course descriptions also cover pattern design and draping.
Choose one small skill to practise this week, then use it in a simple project.
Conclusion
Strong sewing skills grow from small, repeatable decisions rather than perfect first attempts. Careful preparation helps us avoid preventable errors, while practice makes each new technique feel more familiar.
Choose one easy pattern that suits your current skills. Test an unfamiliar stitch on scraps, and use the result to adjust the machine before sewing the garment.
Pick a simple pattern, prepare the fabric as directed and sew a test seam before starting the garment.